




Your deck takes a beating in Quebec. We’re talking freeze-thaw cycles that crack wood fibers, summer humidity that breeds mildew, and UV rays that bleach your boards gray. Without proper protection, a beautiful cedar deck can look weathered and worn in just a couple of seasons.
Deck staining isn’t just about aesthetics. It’s about protecting your investment from Quebec’s extreme weather swings.
Quebec’s Climate Challenges for Wood Decks
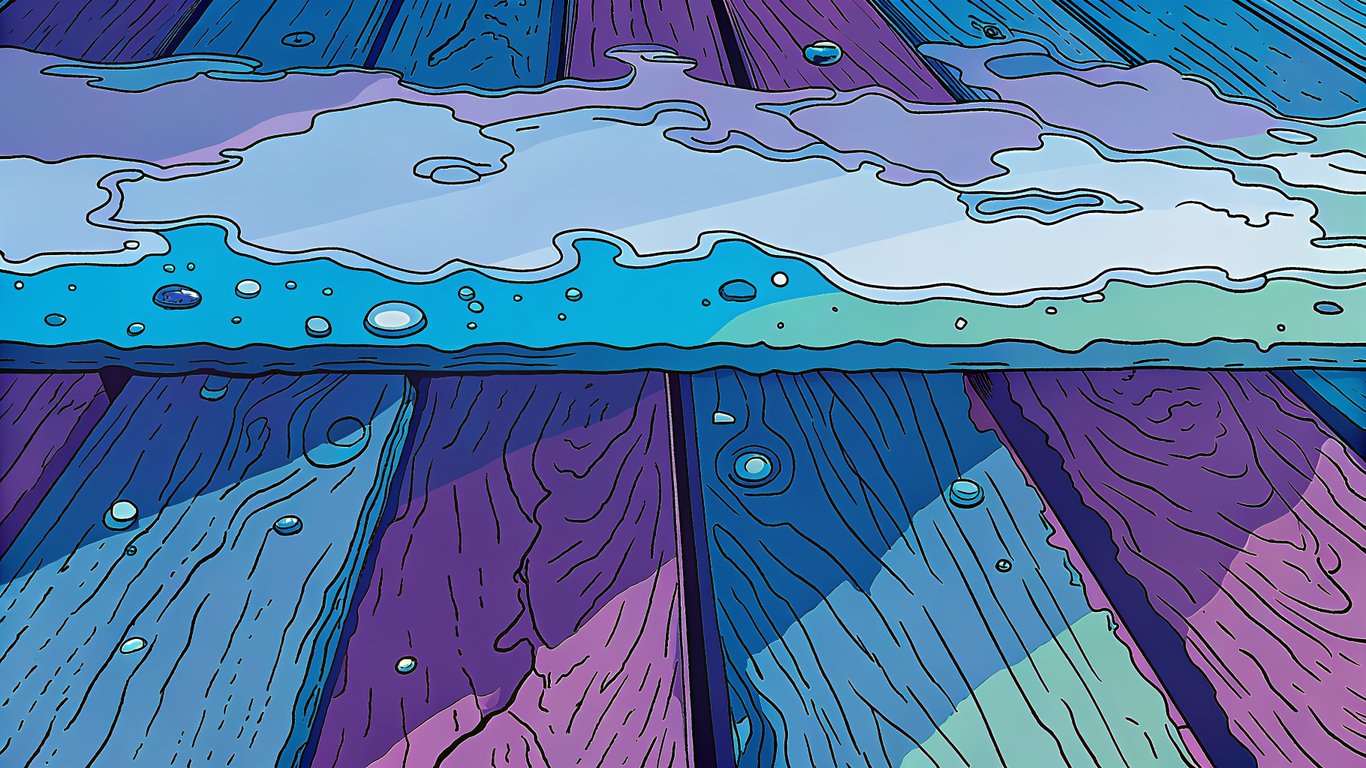
Quebec winters are brutal on outdoor wood. When temperatures drop below freezing, moisture trapped in wood expands. Then it thaws. Then it freezes again. This cycle repeats dozens of times each winter, creating tiny cracks that grow larger each year.
Summer brings its own problems. High humidity levels promote mold and mildew growth, especially on north-facing deck surfaces that don’t get much sun. And those long summer days? The UV exposure gradually breaks down the lignin in wood, turning it gray and brittle.
Benefits of Regular Deck Staining
A properly stained deck resists moisture penetration, which is your biggest enemy in Quebec’s climate. The stain creates a barrier that prevents water from soaking into the wood grain, reducing the damage from freeze-thaw cycles.
Stain also contains UV inhibitors that slow down sun damage. Your deck will maintain its color longer and won’t develop that weathered gray appearance as quickly. Plus, stained wood is easier to clean and less likely to splinter, making it safer for bare feet.
How Often Should You Stain Your Deck in Quebec
Most decks in Quebec need restaining every two to three years. But this varies based on several factors. High-traffic areas wear faster. Decks with full sun exposure need more frequent attention than shaded ones. And the type of stain you use makes a difference too.
Here’s a simple test: sprinkle water on your deck. If it beads up, your stain is still working. If the water soaks in immediately, it’s time to restain.

Best Timing for Deck Staining in Quebec
Timing is everything when it comes to deck staining. Apply stain at the wrong time, and you’ll end up with a blotchy, peeling mess that won’t last through the winter.
Ideal Season and Months
Late spring through early fall gives you the best window for deck staining in Quebec. We’re talking May through September, with June and early September being particularly ideal. The weather is stable, temperatures are moderate, and you’ve got enough warm days ahead for the stain to cure properly.
Avoid staining in April or October. Spring can be unpredictable with sudden cold snaps, and fall temperatures drop quickly. You need consistent warmth for at least 48 hours after application.
Weather Conditions to Consider
Temperature matters more than you’d think. You want daytime temperatures between 10°C and 30°C. Too cold, and the stain won’t penetrate properly. Too hot, and it dries too fast, leaving lap marks.
Check the forecast for at least 48 to 72 hours of dry weather. Rain within the first two days can ruin your work completely. Also avoid staining in direct sunlight during the hottest part of the day. Early morning or late afternoon works best.
Humidity should be below 70% if possible. High humidity slows drying time and can cause the stain to remain tacky.
Signs Your Deck Needs Staining
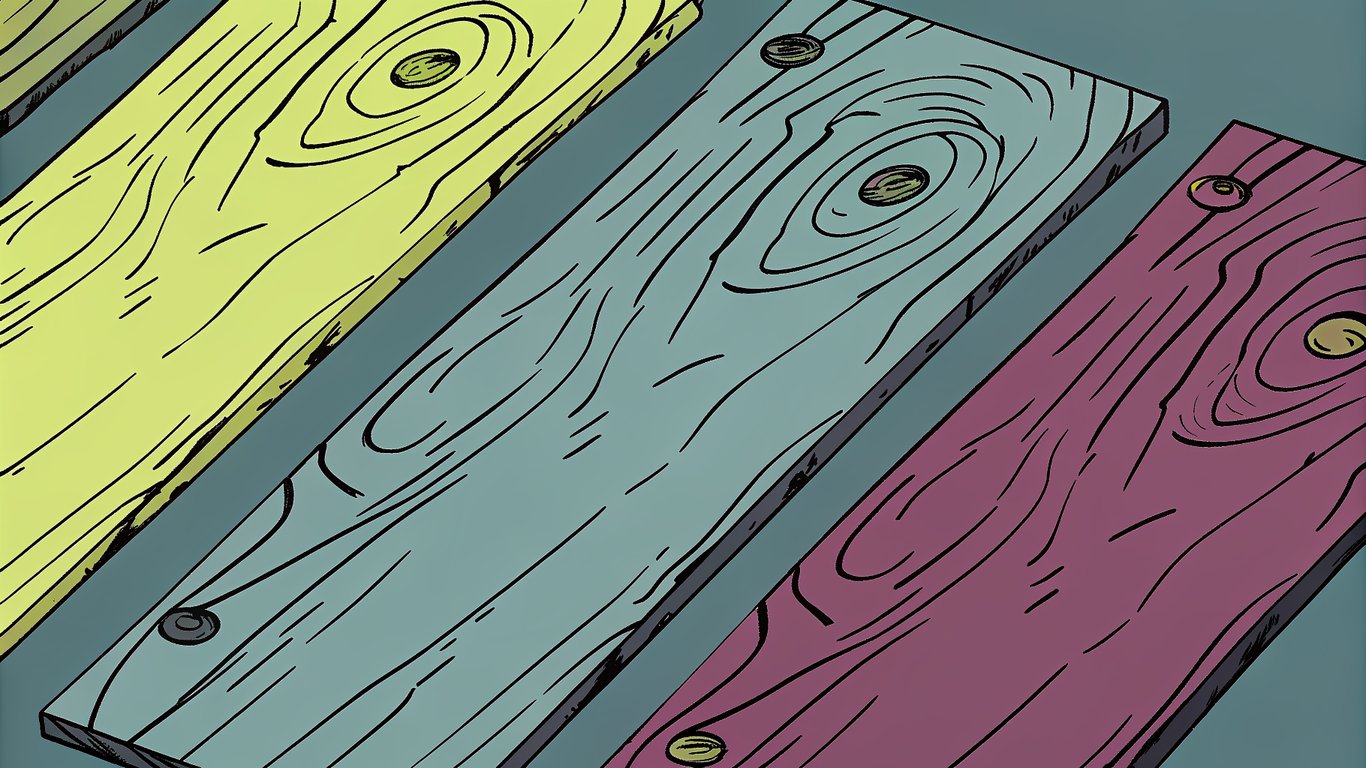
Your deck will tell you when it needs attention. Faded color is the most obvious sign. If your deck has gone from rich brown to dull gray, the stain has worn off.
Look for water absorption. Drop some water on the surface. If it soaks in within a few minutes instead of beading up, the protective barrier is gone. You might also notice the wood feels rough or fuzzy, or you’re getting more splinters than usual.
Best Deck Staining Products for Quebec Conditions
Not all deck stains are created equal, especially when you’re dealing with Quebec’s weather extremes. The right product makes the difference between a deck that lasts three years and one that needs redoing next summer.
Types of Deck Stains Explained
Transparent stains let the wood grain show through completely. They offer minimal protection but look natural. These typically last one to two years in Quebec’s climate.
Semi-transparent stains are probably your best bet. They provide good UV protection while still showing the wood grain. Most homeowners find these offer the right balance of protection and appearance.
Semi-solid stains hide more of the wood grain but offer better protection. They’re good for older decks with some discoloration you want to cover up.
Solid stains look almost like paint. They hide the wood grain completely but provide maximum protection. Use these on decks that are heavily weathered or if you want a uniform color.
Oil-Based vs. Water-Based Stains
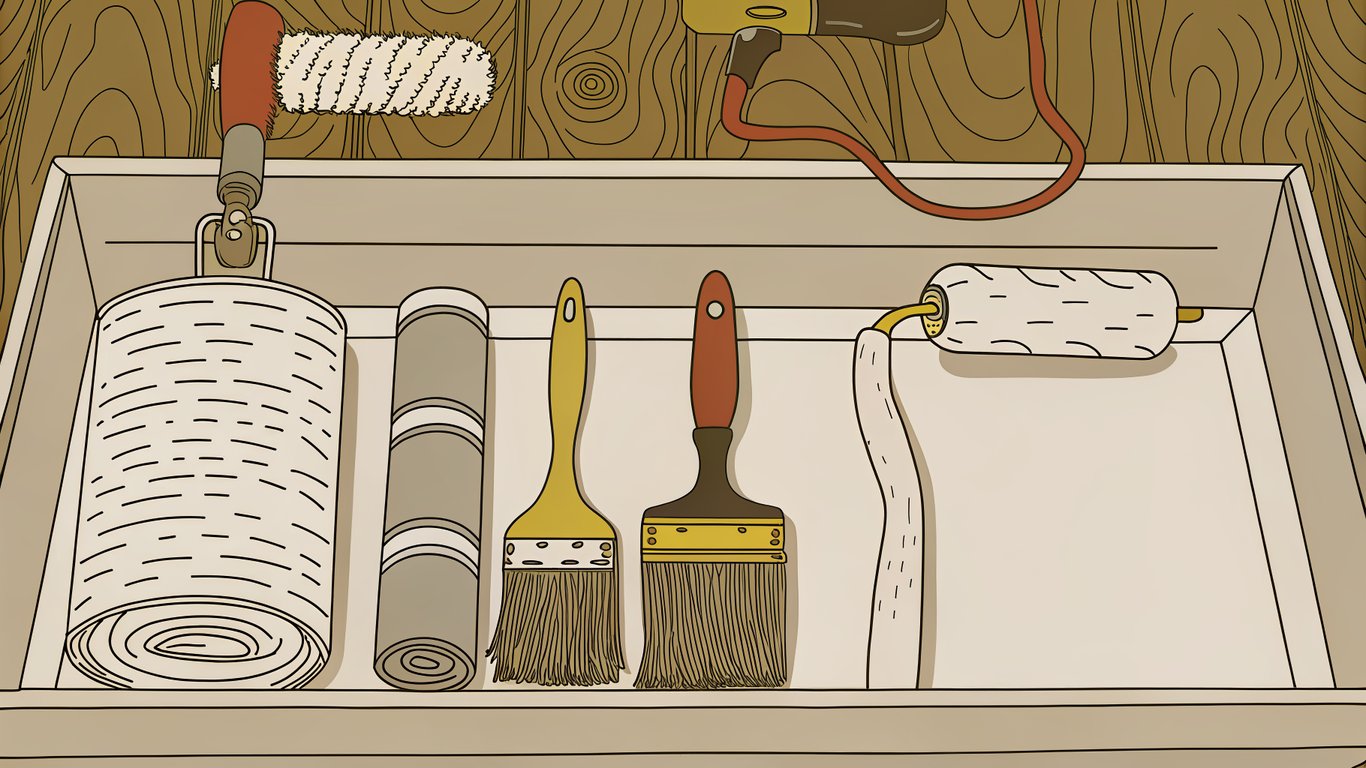
Oil-based stains penetrate deeper into the wood and typically last longer in harsh climates. They’re better at repelling water and handle freeze-thaw cycles well. The downside? They take longer to dry, have stronger fumes, and cleanup requires mineral spirits.
Water-based stains dry faster and have less odor. They’re easier to clean up and more environmentally friendly. But they don’t penetrate as deeply and might not last quite as long in Quebec winters. They’ve improved significantly in recent years though.
Top-Rated Deck Stain Brands for Quebec
Several brands perform well in Quebec’s climate. Sico makes products specifically formulated for Canadian weather. Their deck stains are widely available at hardware stores across the province.
Benjamin Moore offers premium options that many professionals prefer. Sansin specializes in wood protection products and has a strong reputation for durability. Cabot is another solid choice that’s been around for decades.
You can find these at Rona, Home Depot, and BMR locations throughout Quebec.
Choosing the Right Color and Finish
Darker stains hide imperfections better but show dust and pollen more easily. They also absorb more heat, which can make the deck surface hot in summer. Lighter stains stay cooler but require more frequent maintenance.
Consider your home’s exterior color. Your deck should complement, not clash with, your siding and trim. Most people choose stains in the brown, cedar, or gray family.
Tools and Materials Needed for Deck Staining
Having the right tools makes this job go much smoother. You don’t need professional equipment, but don’t try to cut corners with inadequate supplies either.
Essential Tools Checklist
- Pressure washer or garden hose with spray nozzle
- Deck brush with stiff bristles
- Paint roller with extension pole (for large flat areas)
- 4-inch paintbrush (for railings and edges)
- Paint tray
- Orbital sander with 80-grit and 120-grit sandpaper
- Putty knife or scraper
- Hammer and nail set
- Painter’s tape
- Plastic sheeting or drop cloths
Safety Equipment and Protective Gear
Don’t skip the safety gear. You’ll need rubber gloves to protect your hands from chemicals and stain. Safety glasses are essential when pressure washing or sanding. A dust mask or respirator protects your lungs from sanding dust and stain fumes.
Wear old clothes that cover your arms and legs. Stain is difficult to remove from fabric. Closed-toe shoes with good traction prevent slips on wet surfaces.
Cleaning and Prep Materials
You’ll need a deck cleaner to remove dirt, mildew, and old stain residue. Oxygen bleach cleaners work well and are less harsh than chlorine bleach. If you’re removing old stain, get a deck stripper formulated for your stain type.
Wood brightener is optional but recommended. It neutralizes the cleaner and restores the wood’s natural color before staining.
Estimated Costs and Where to Buy in Quebec
Budget around $200 to $400 for a typical 300-square-foot deck, including stain, cleaner, and supplies. Premium stains cost more but often last longer, making them worth the investment.
Rona, Home Depot, and BMR all carry the supplies you need. Smaller hardware stores often have knowledgeable staff who can provide advice specific to your project.
Step-by-Step Deck Staining Instructions
Now we get to the actual work. Take your time with each step. Rushing the prep work is the biggest mistake people make.
Step 1: Inspect and Repair Your Deck
Walk your entire deck looking for problems. Check for loose boards, protruding nails, and splinters. Tighten any loose screws or nails. If boards are severely damaged or rotted, you’ll need to assess deck damage for repair or replacement now.
Use a nail set to countersink any protruding nail heads. Sand down rough spots and splinters. This is also a good time to check the structural integrity of your deck, including joists and support posts.
Step 2: Clean the Deck Thoroughly
Sweep off all loose debris first. Then apply deck cleaner according to the product instructions. Most cleaners need to sit for 10 to 15 minutes to work effectively.
Scrub the deck with a stiff brush, paying extra attention to areas with mildew or heavy staining. Pressure washing works well but be careful. Keep the nozzle at least 12 inches from the wood and use a fan tip, not a concentrated stream. Too much pressure can damage wood fibers.
Rinse thoroughly. Any cleaner residue left behind will interfere with stain adhesion.
Step 3: Strip Old Stain (If Necessary)
If your deck has peeling or flaking stain, you’ll need to strip it. Apply deck stripper with a brush or roller, let it work for the recommended time, then scrub and rinse.
This step isn’t always necessary. If the old stain is just faded but still adhering well, you can often stain over it after cleaning.
Step 4: Sand the Deck Surface
Once the deck is completely dry, sand it lightly with 80-grit sandpaper to smooth rough areas and open up the wood grain. Follow with 120-grit for a smoother finish.
You don’t need to sand the entire deck aggressively. Focus on rough spots, raised grain from pressure washing, and areas where old stain remains. An orbital sander makes this job much easier.
Step 5: Apply Deck Brightener
Deck brightener neutralizes any remaining cleaner and restores the wood’s natural pH. It also brings back the wood’s natural color, giving you a better idea of how the stain will look.
Apply it according to product directions, usually letting it sit for about 10 minutes before rinsing thoroughly.
Step 6: Allow Proper Drying Time
This is where patience pays off. Your deck needs to be completely dry before staining. In Quebec’s climate, this typically takes 48 hours of dry, warm weather.
Test the moisture level by sprinkling water on the wood. If it beads up, the wood is still too wet. If it soaks in immediately, you’re ready to stain.
Step 7: Protect Surrounding Areas
Cover plants near the deck with plastic sheeting. Use painter’s tape to protect siding, door frames, and any other surfaces you don’t want stained. Put drop cloths under railings to catch drips.
Step 8: Apply the First Coat of Stain
Stir the stain thoroughly but don’t shake it. Shaking creates bubbles that can mar the finish. Start with railings and vertical surfaces, then move to the deck boards.
Work in manageable sections, typically two or three boards at a time. Apply stain in the direction of the wood grain using a brush, roller, or sprayer. Don’t let stain puddle. Wipe up excess immediately with a clean cloth.
Work from the house outward so you don’t trap yourself. And never stain yourself into a corner.
Step 9: Apply Additional Coats
Most stains need two coats for optimal protection. Check the manufacturer’s instructions for drying time between coats. This is usually 4 to 24 hours depending on temperature and humidity.
The second coat goes on easier than the first. Use the same technique, working in the direction of the grain.
Step 10: Clean Up and Final Inspection
Clean your brushes and rollers according to the stain type. Oil-based stains require mineral spirits; water-based stains clean up with soap and water.
Walk the deck looking for missed spots, drips, or uneven coverage. Touch up any problem areas while the stain is still workable.
Keep foot traffic off the deck for at least 24 to 48 hours. Full curing takes longer, sometimes up to a week.
Common Deck Staining Mistakes to Avoid
Even experienced DIYers make mistakes with deck staining. Here’s what to watch out for.
Skipping Proper Preparation
The prep work takes longer than the actual staining. But it’s absolutely critical. Stain won’t adhere properly to dirty, weathered, or improperly prepared wood. You’ll end up with peeling and uneven coverage.
Don’t rush the cleaning and drying steps. They’re not optional.
Staining in Poor Weather Conditions
Staining when it’s too hot causes the stain to dry too quickly, leaving lap marks and preventing proper penetration. Too cold, and the stain won’t cure properly. Rain within 48 hours can wash away your work completely.
Check the forecast carefully and be patient. It’s better to wait for ideal conditions than to redo the entire job.
Over-Application or Under-Application
More stain isn’t better. Applying too much creates a thick film that can peel. It also takes forever to dry and attracts dirt. Apply thin, even coats and wipe up any excess.
Under-application leaves the wood inadequately protected. Follow the manufacturer’s coverage rates and don’t try to stretch the product too far.
Not Testing Stain First
Stain colors look different on wood than they do in the can or on a color chip. Test your chosen stain on an inconspicuous area or a scrap piece of the same wood type.
Let it dry completely before making your final decision. Wet stain looks much darker than dry stain.
Ignoring Manufacturer Instructions
Every stain product is slightly different. Temperature ranges, drying times, application methods, and coverage rates vary by brand and formula.
Read the instructions on your specific product and follow them. They’re based on extensive testing and will give you the best results.
Maintaining Your Stained Deck in Quebec
Staining your deck isn’t a one-and-done project. Regular maintenance extends the life of your stain and keeps your deck looking good.
Regular Cleaning Schedule
Sweep your deck weekly to remove leaves, dirt, and debris. These trap moisture against the wood and accelerate deterioration. Wash the deck twice a year with a mild soap solution and a soft brush.
Don’t use harsh chemicals or pressure washing for routine cleaning. These can damage the stain. Save the pressure washer for when you’re ready to restain.
Winter Protection Tips
Remove snow promptly but gently. Use a plastic shovel, not metal, which can scratch the stain. Don’t use salt or chemical ice melters on your deck. They damage both the wood and the stain.
Keep gutters clean so water doesn’t overflow onto the deck. Standing water and ice are your deck’s worst enemies.
Touch-Up and Recoating Guidelines
High-traffic areas like stairs and entryways wear faster than the rest of the deck. You can touch up these spots between full refinishing jobs.
Clean the area thoroughly, lightly sand if needed, and apply a thin coat of the same stain. Feather the edges to blend with the surrounding area.
Signs You Need Professional Help
Some situations call for professional expertise. If your deck has extensive rot or structural damage, hire a contractor to assess and repair it before staining. Large decks with multiple levels and complex railings can be overwhelming for DIYers.
If you’ve tried staining before with poor results, a professional can identify what went wrong and fix it properly. Sometimes the peace of mind is worth the cost.
Achieving Professional Deck Staining Results
Deck staining in Quebec requires attention to timing, proper products, and thorough preparation. The climate here is tough on outdoor wood, but a well-stained deck can withstand years of freeze-thaw cycles and summer sun.
Key Takeaways for Quebec Homeowners
Choose your timing carefully. Late spring through early fall gives you the best weather conditions. Pick a quality stain formulated for harsh climates. Don’t skimp on preparation; it’s 80% of the job.
Apply thin, even coats and follow manufacturer instructions. Maintain your deck regularly to extend the life of your stain.
When to DIY vs. Hire a Professional
Most homeowners can successfully stain a simple deck with the right preparation and patience. If you’re comfortable with basic home maintenance tasks and have a free weekend, this is a manageable DIY project.
Consider hiring a professional if your deck is large, has complex features, needs structural repairs, or if you simply don’t have the time. The investment often pays off in quality results and saved weekends.
Getting Started with Your Deck Staining Project
Start by assessing your deck’s current condition. Make a list of needed repairs and gather your supplies. Check the weather forecast for a good window of dry, moderate temperatures.
Set aside enough time to do the job properly. Rushing leads to mistakes. With the right approach, you’ll have a beautifully stained deck that protects your investment and looks great for years to come.